It started simply. On October 3rd, I tabbed over to XChat and saw a highlight waiting for me:
<NegativeK> loans: http://www.thingiverse.com/thing:143882
Clicking the link took me to a Thingiverse page for a pinhole camera.
<loans> NegativeK: why am I not printing that right now
<NegativeK> Print that camera, loans, and I’ll share some dev kit and chemistry
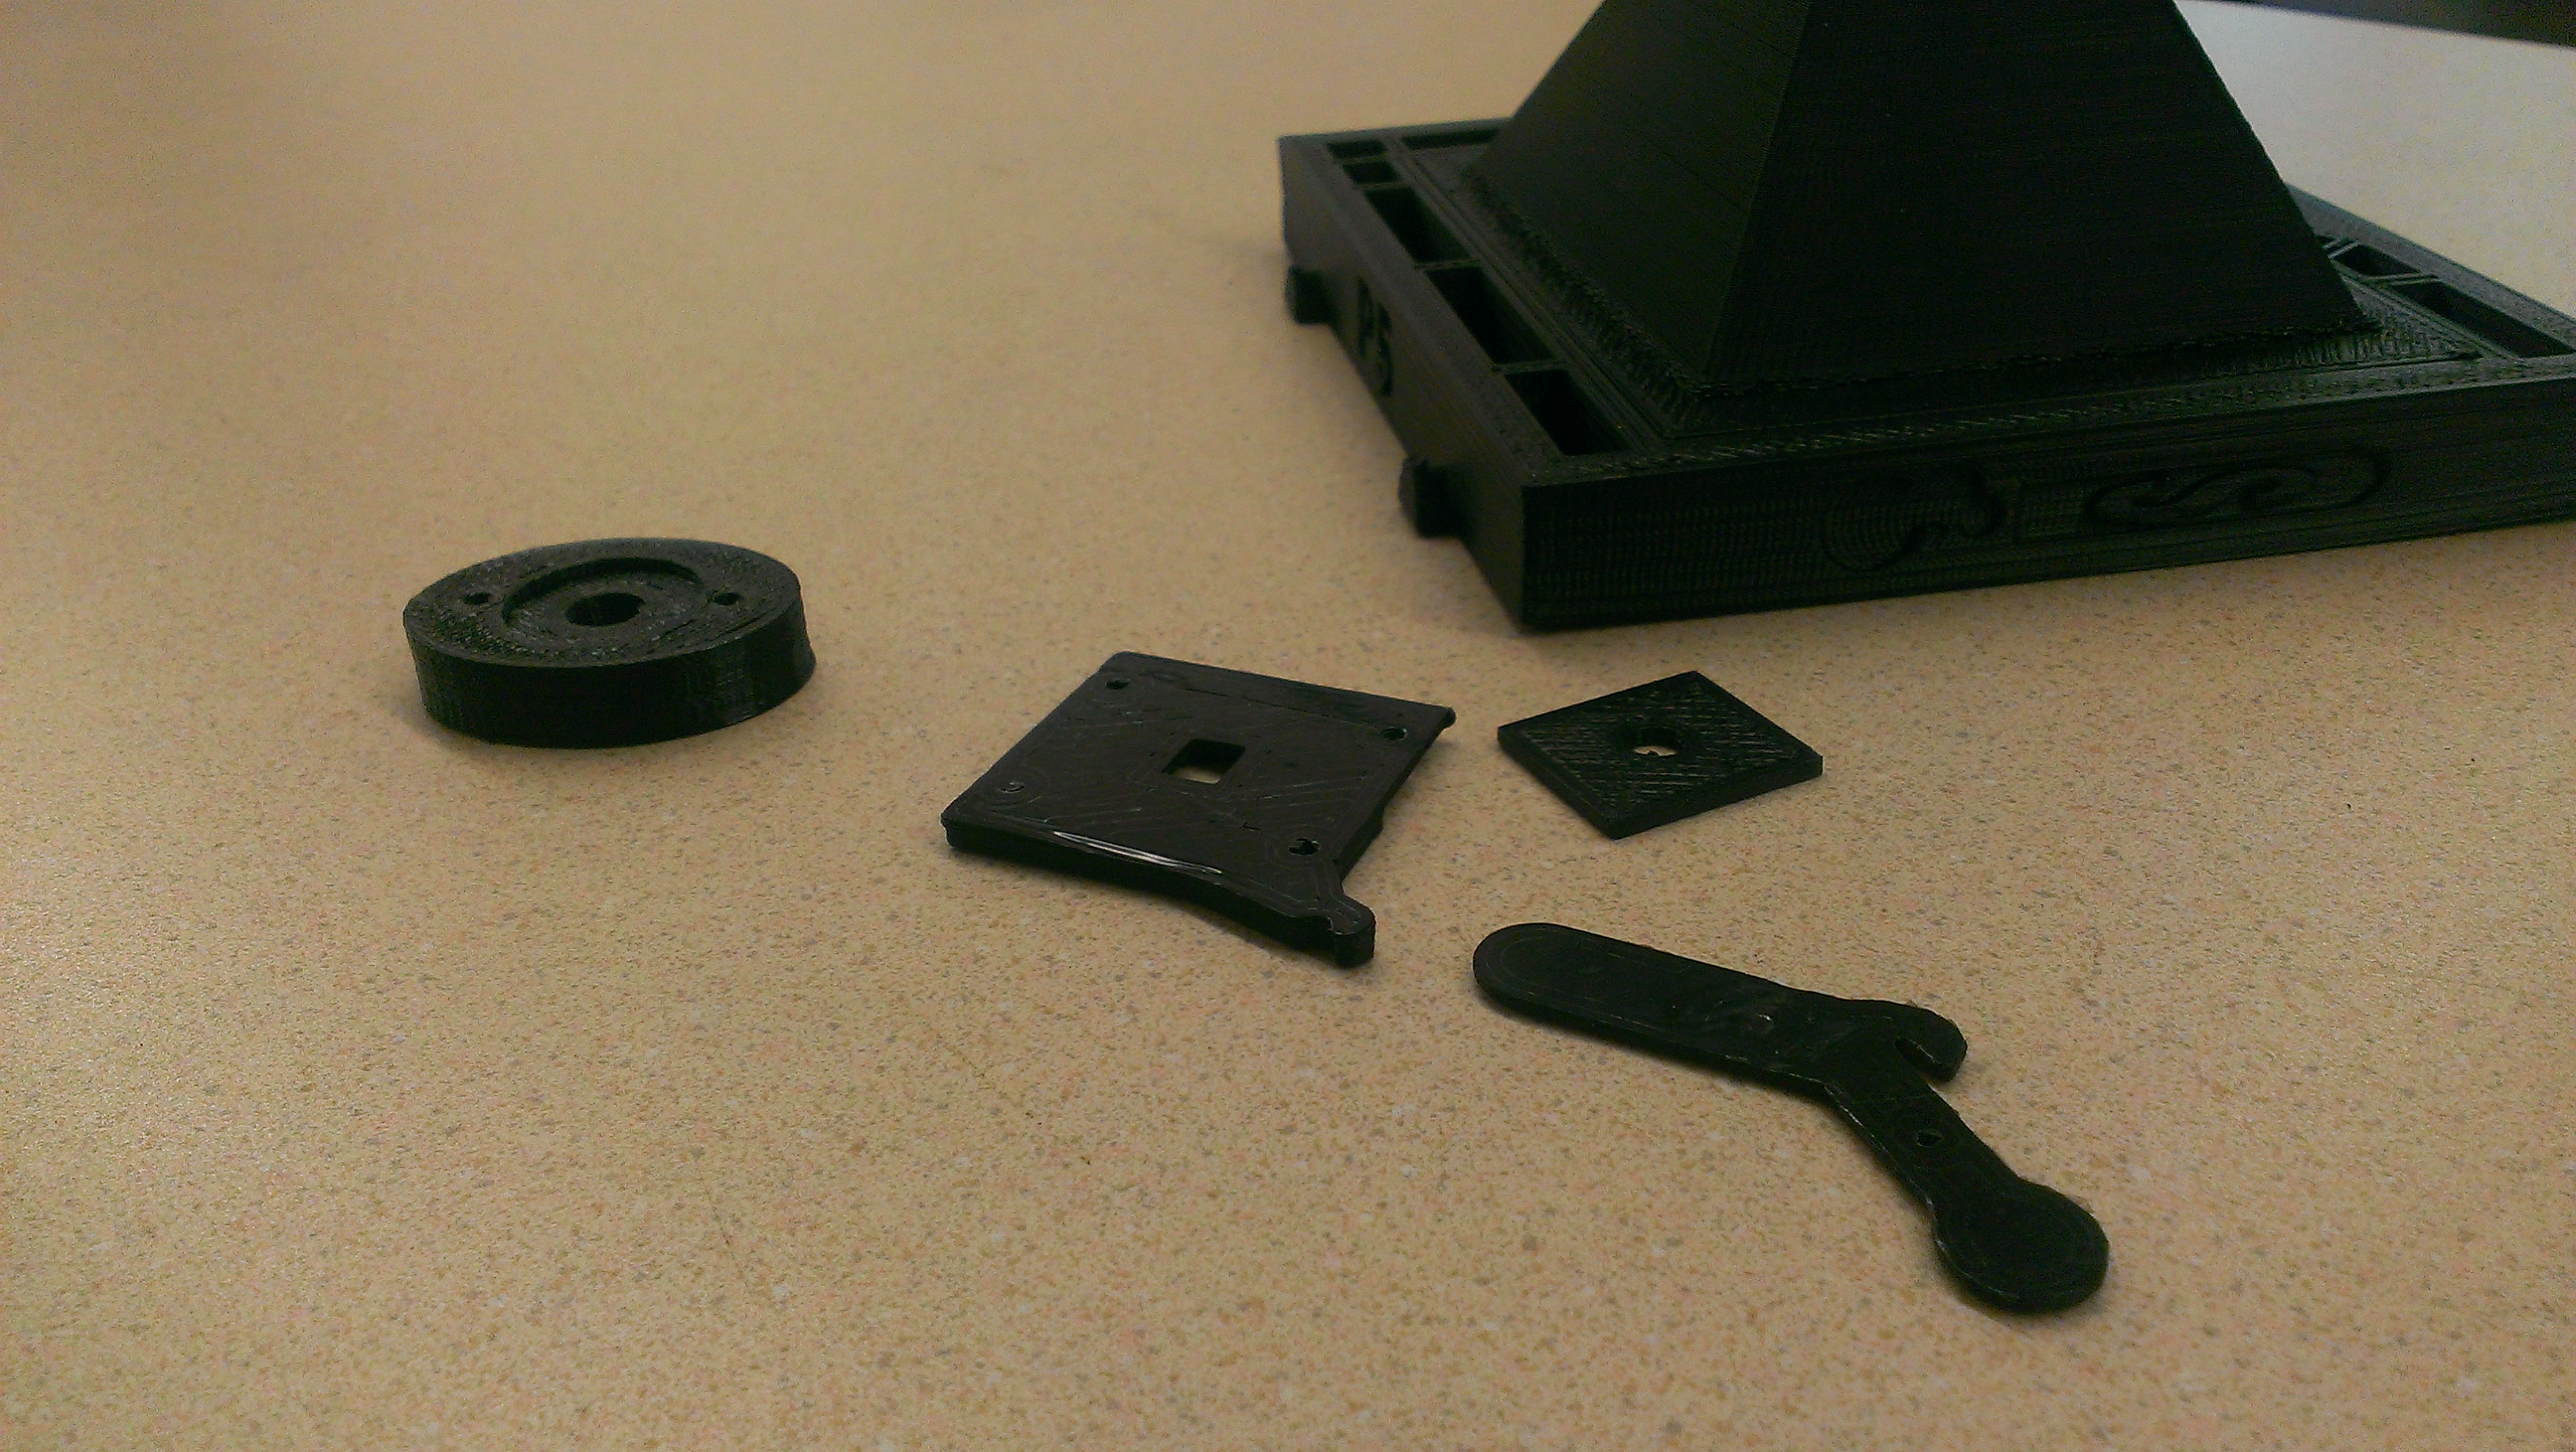
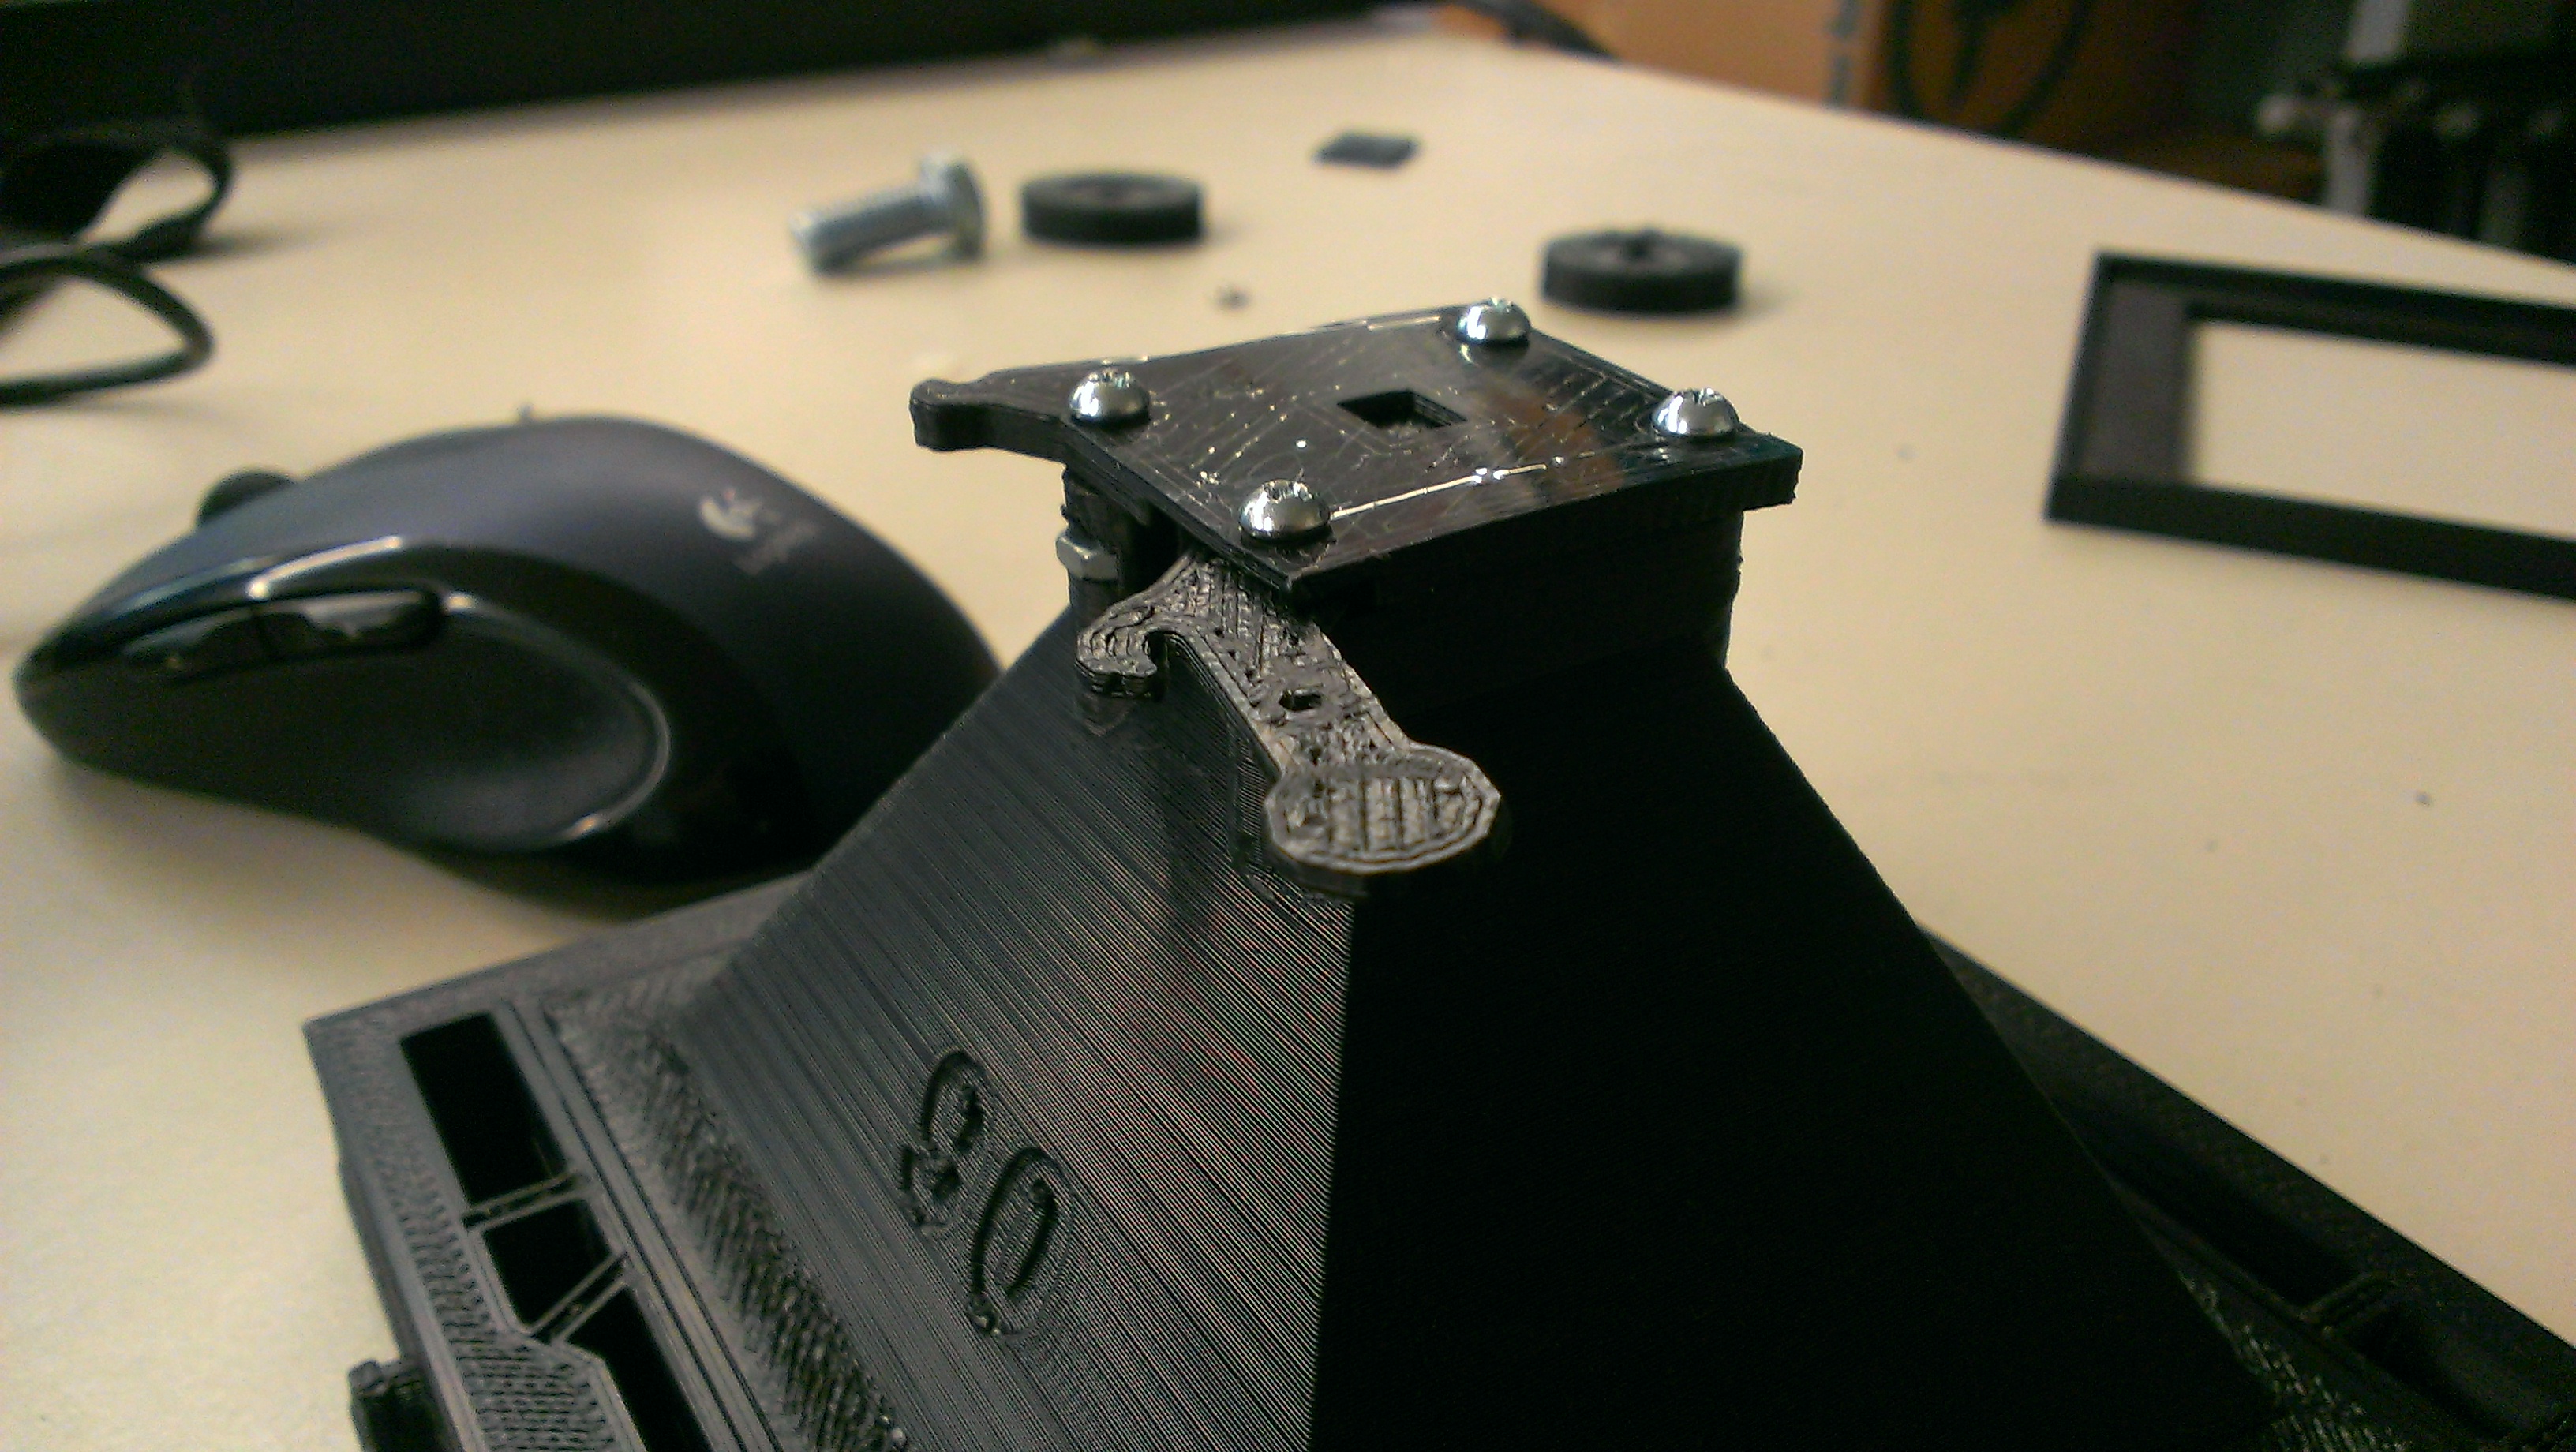
So it started. Over the next week or so I spent some amount of time in front of the Lulzbot, coaxing the camera into existence. The prints all went fairly well, with no catastrophic issues. I had to print a body, a filmholder carrier, tripod mounts and shutter parts, and a ‘lens’ tube. I’d estimate it was less than 10 hours of printing, all told. I assembled the camera using with ABS slurry and fasteners, only needing to do a little bit of touch-up here and there to get everything fitted. I tested for light-tightness in a dark room with an LED flashlight. I made a pinhole out of some aluminum cut from a soda can. I took a stab at the ‘dimple and sand’ technique, though I think it’s something that will take some practice.
Now I had a mostly-finished camera. The last ingredient was to be some adhesive-backed velvet, which would act as the gasket material. Someone (Everett), however, couldn’t wait. So on Sunday the 13th, we loaded up some film holders and cobbled something together in true hackerspace fashion.
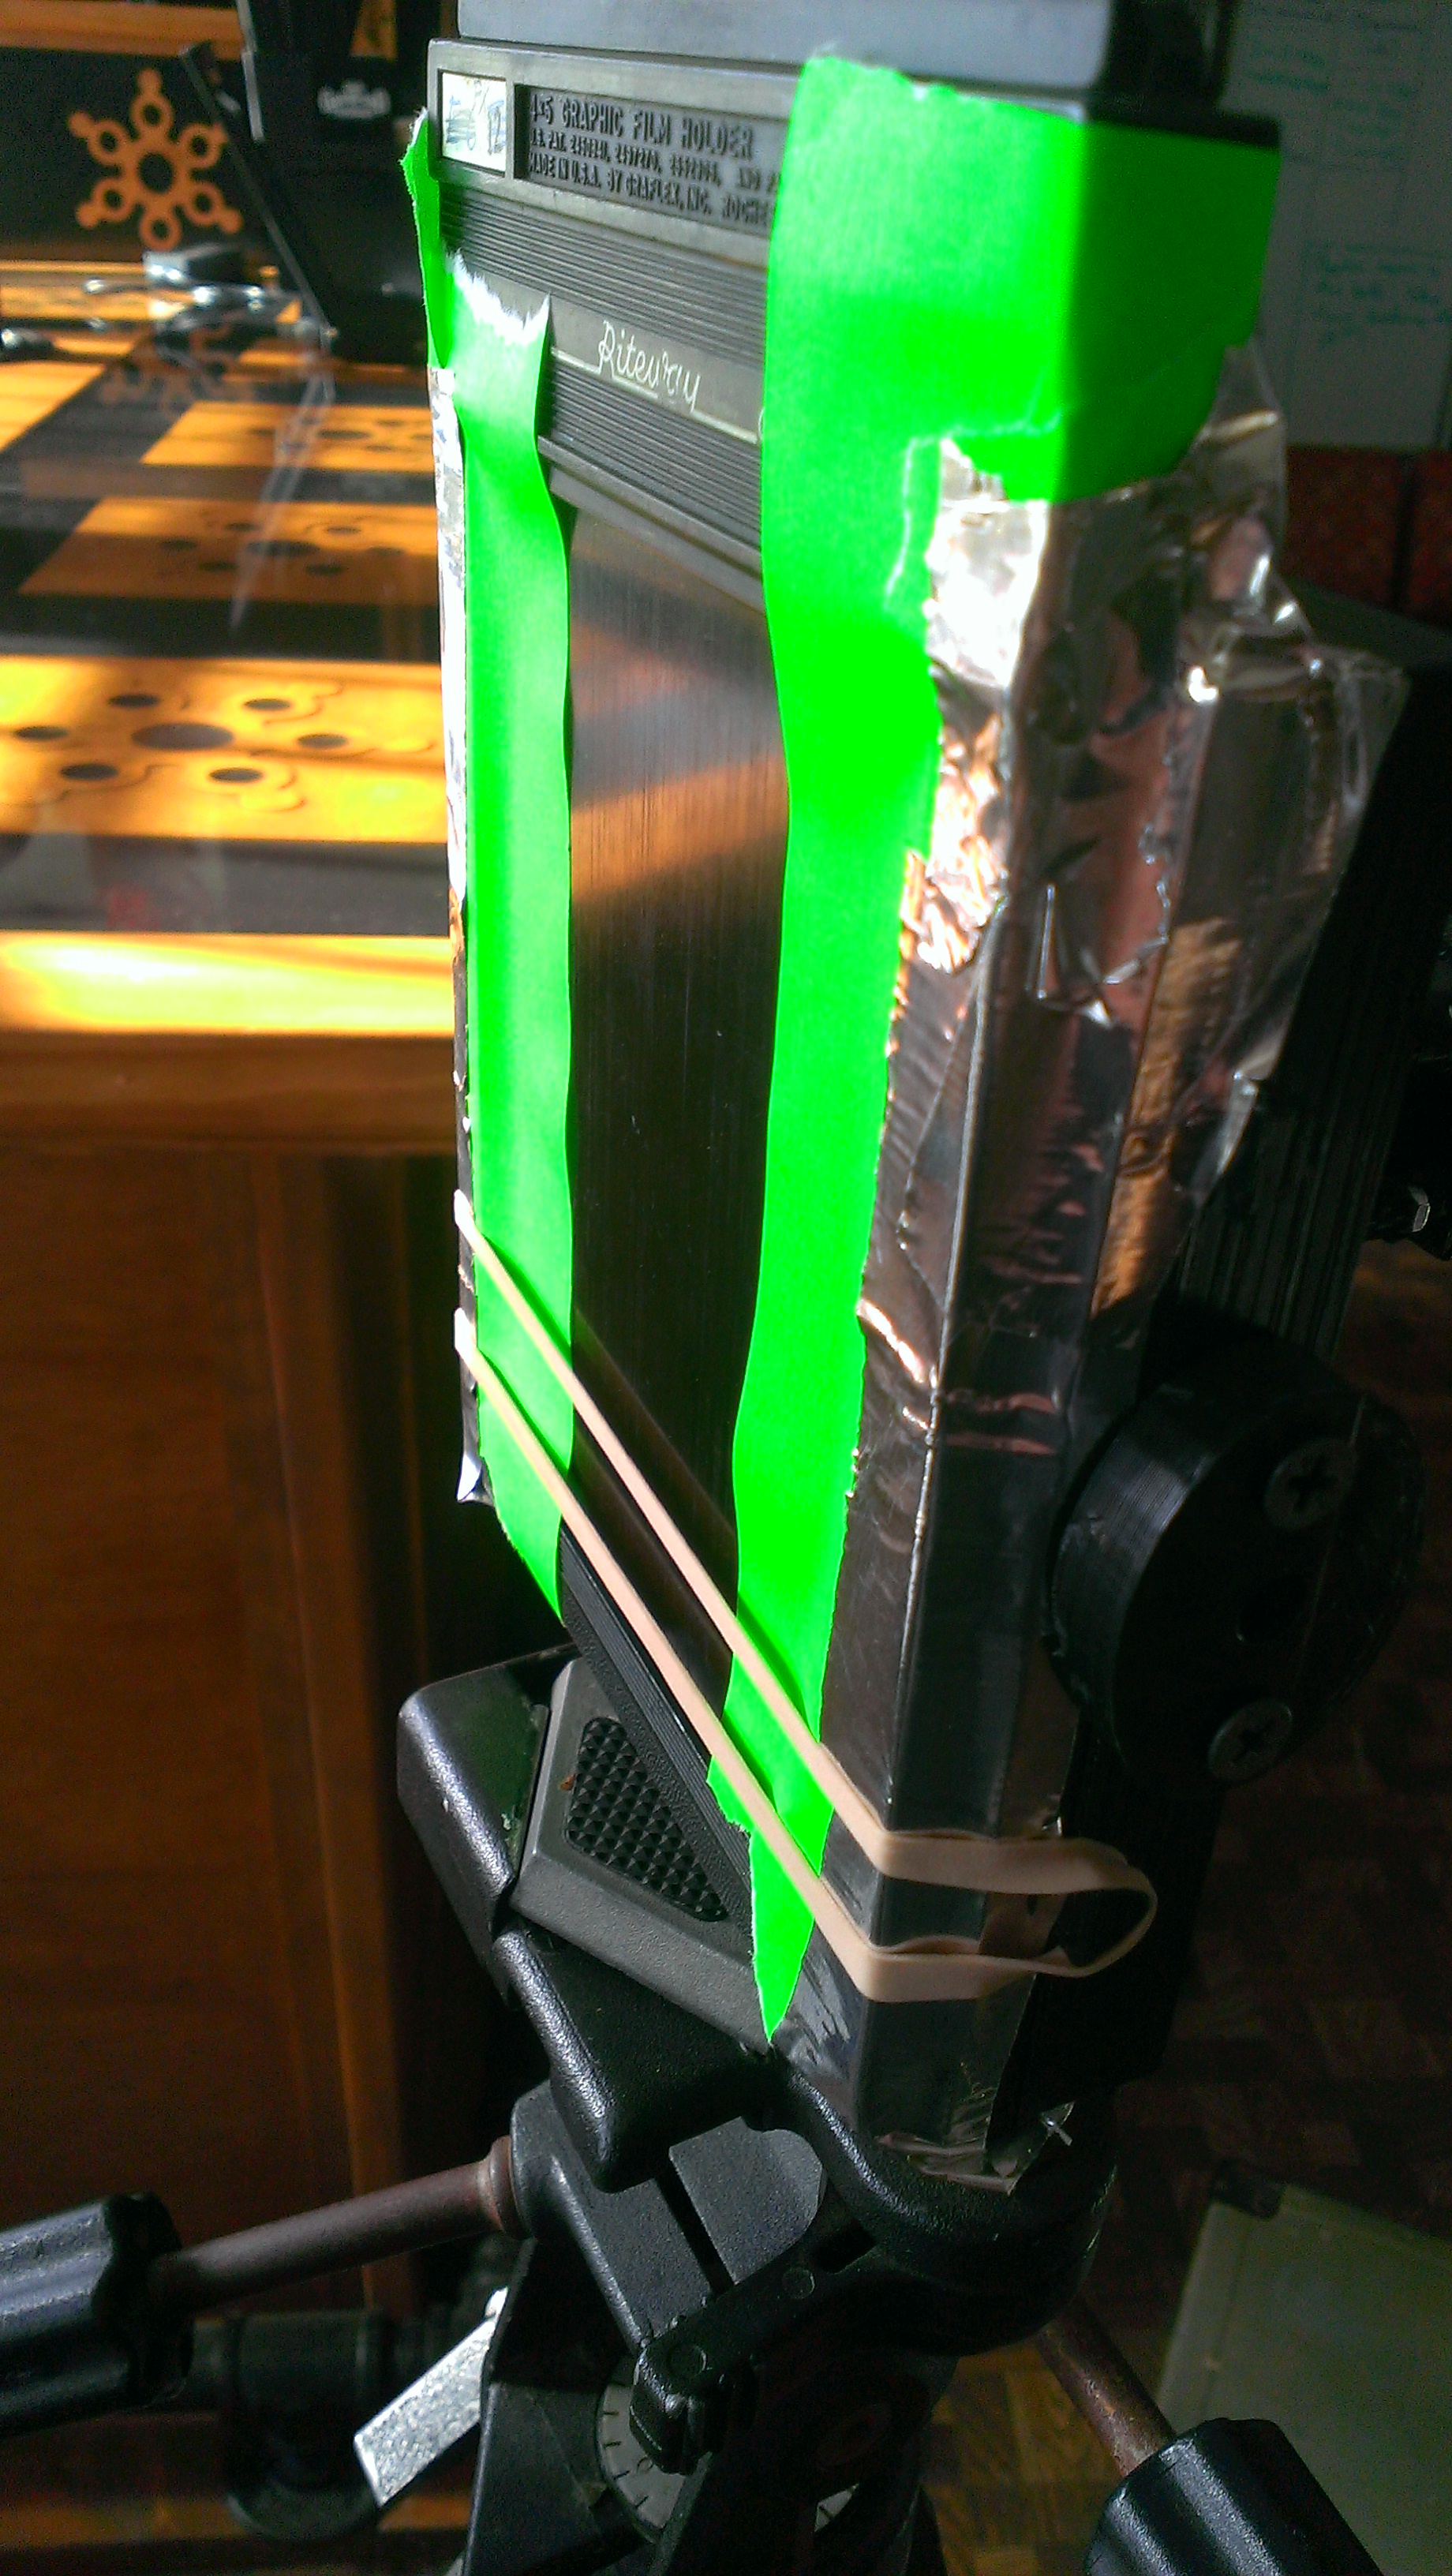
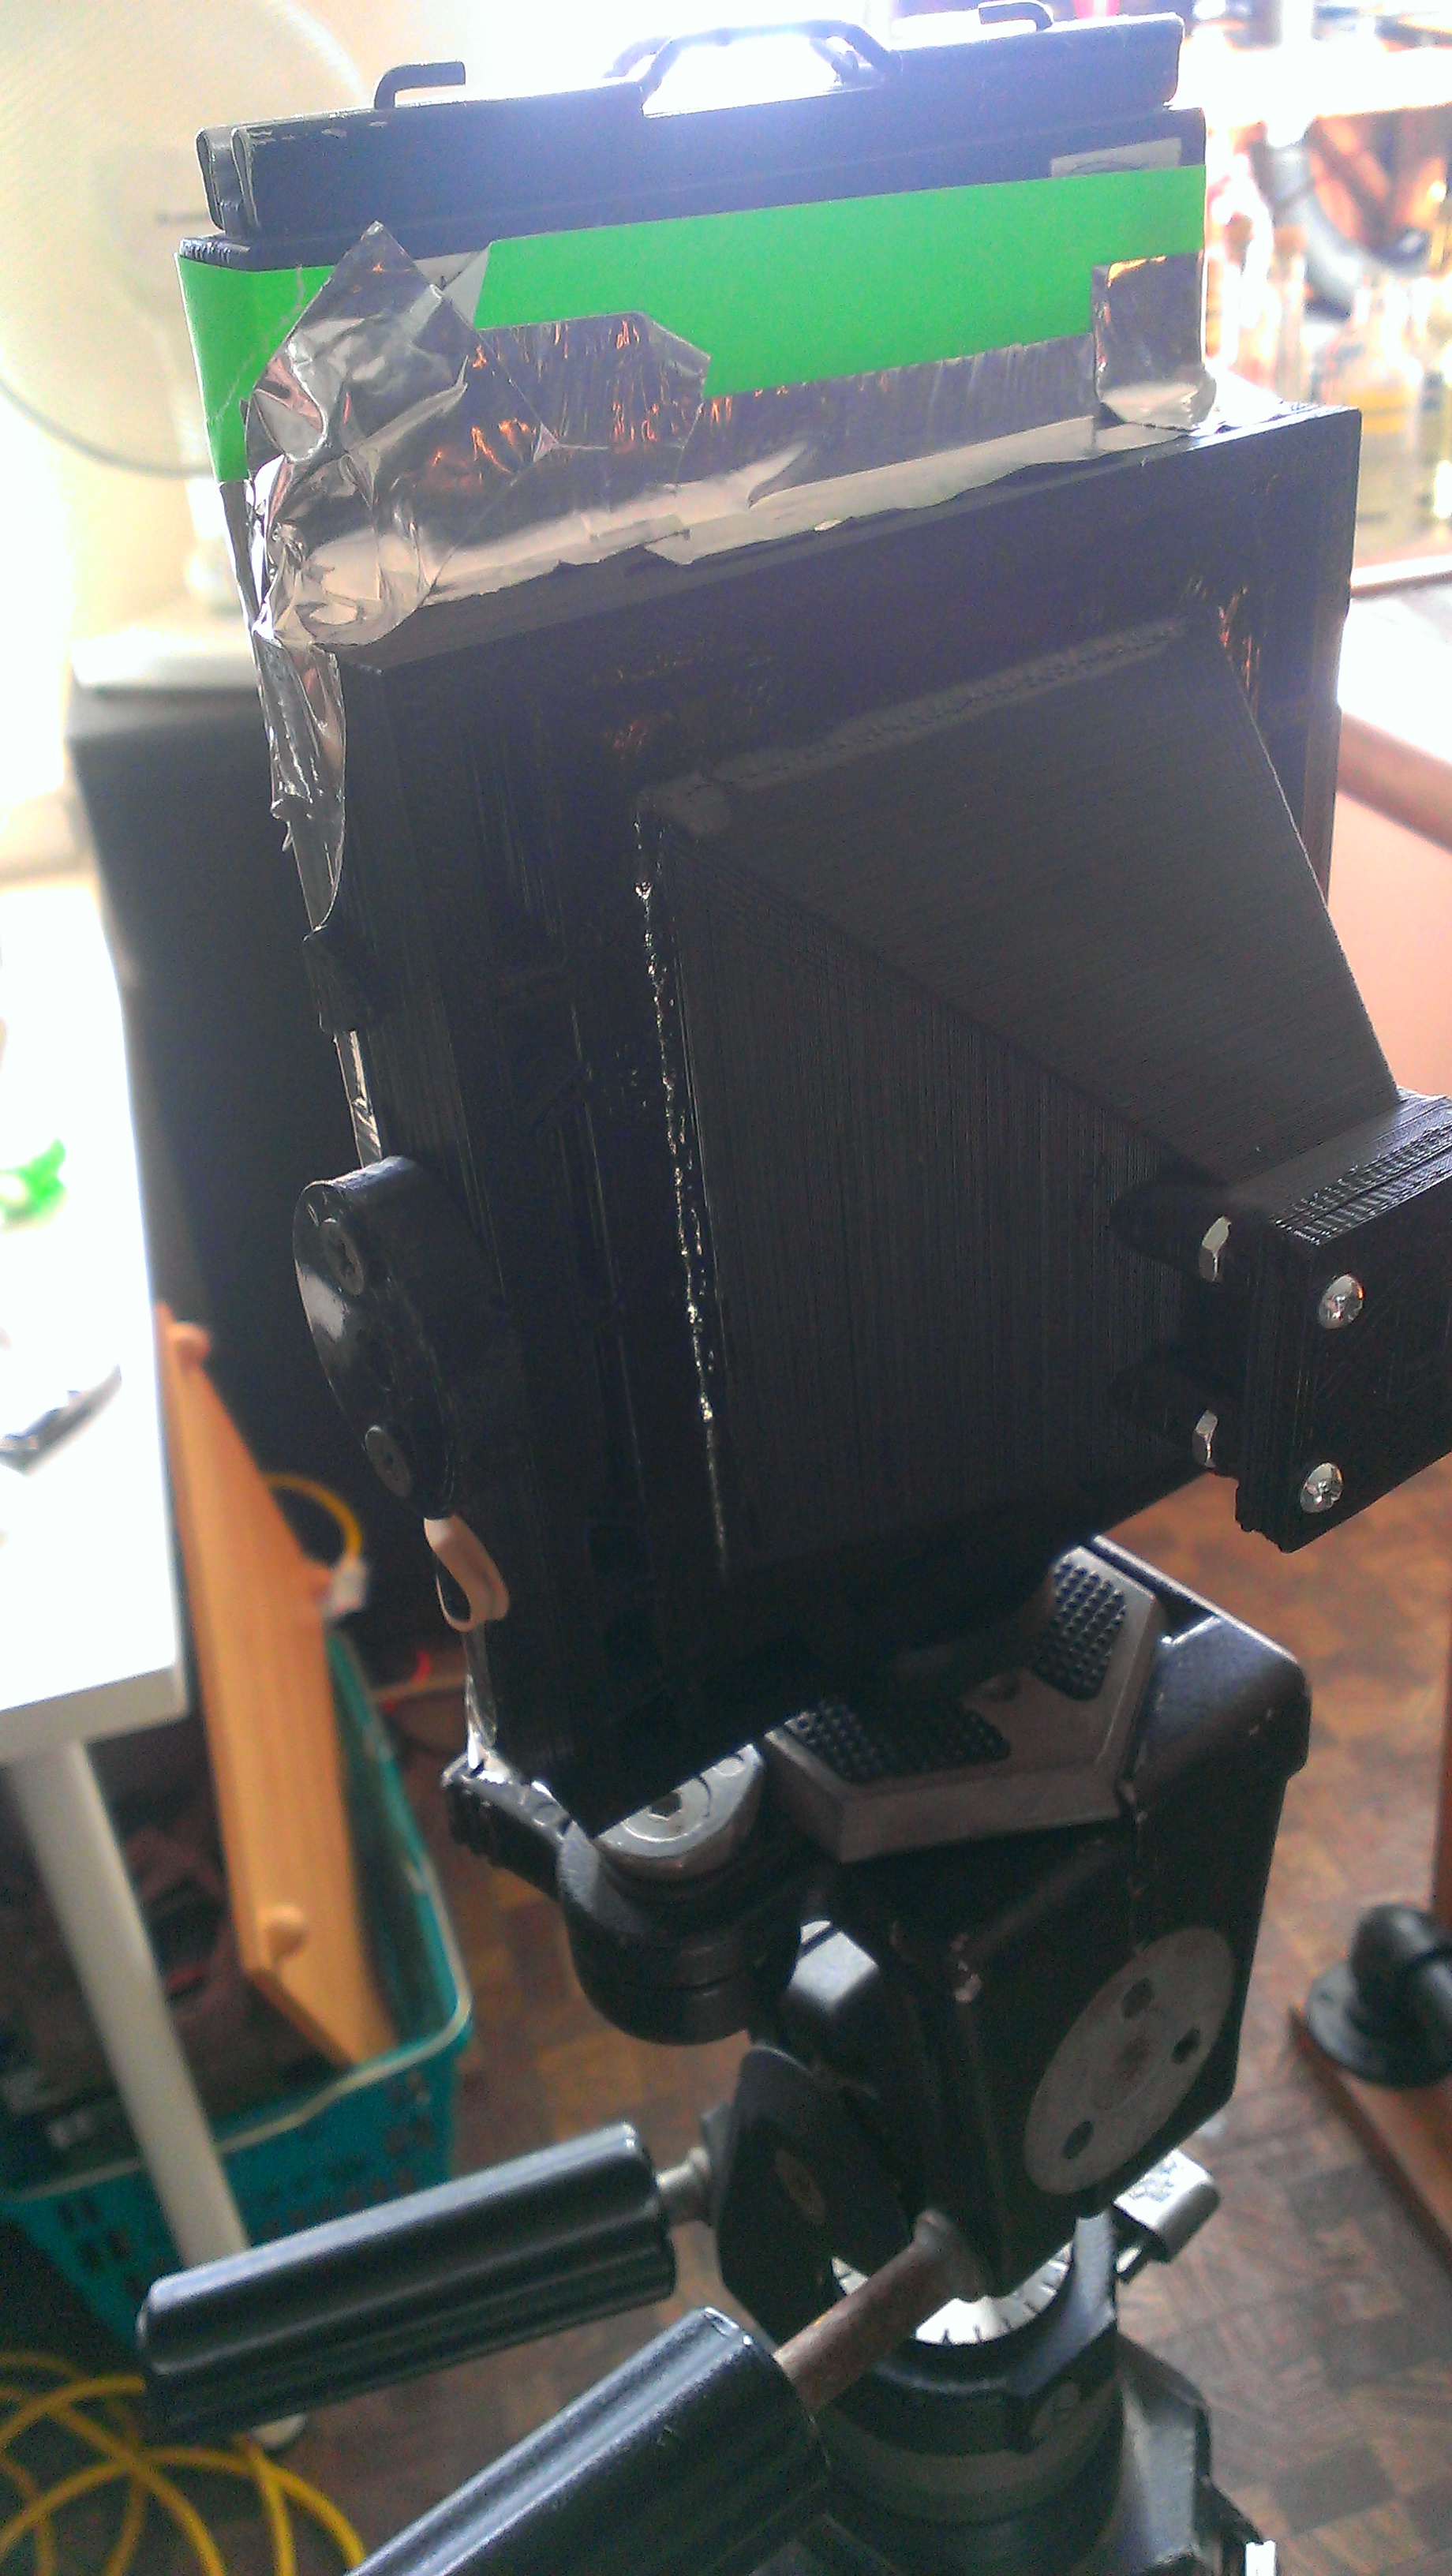
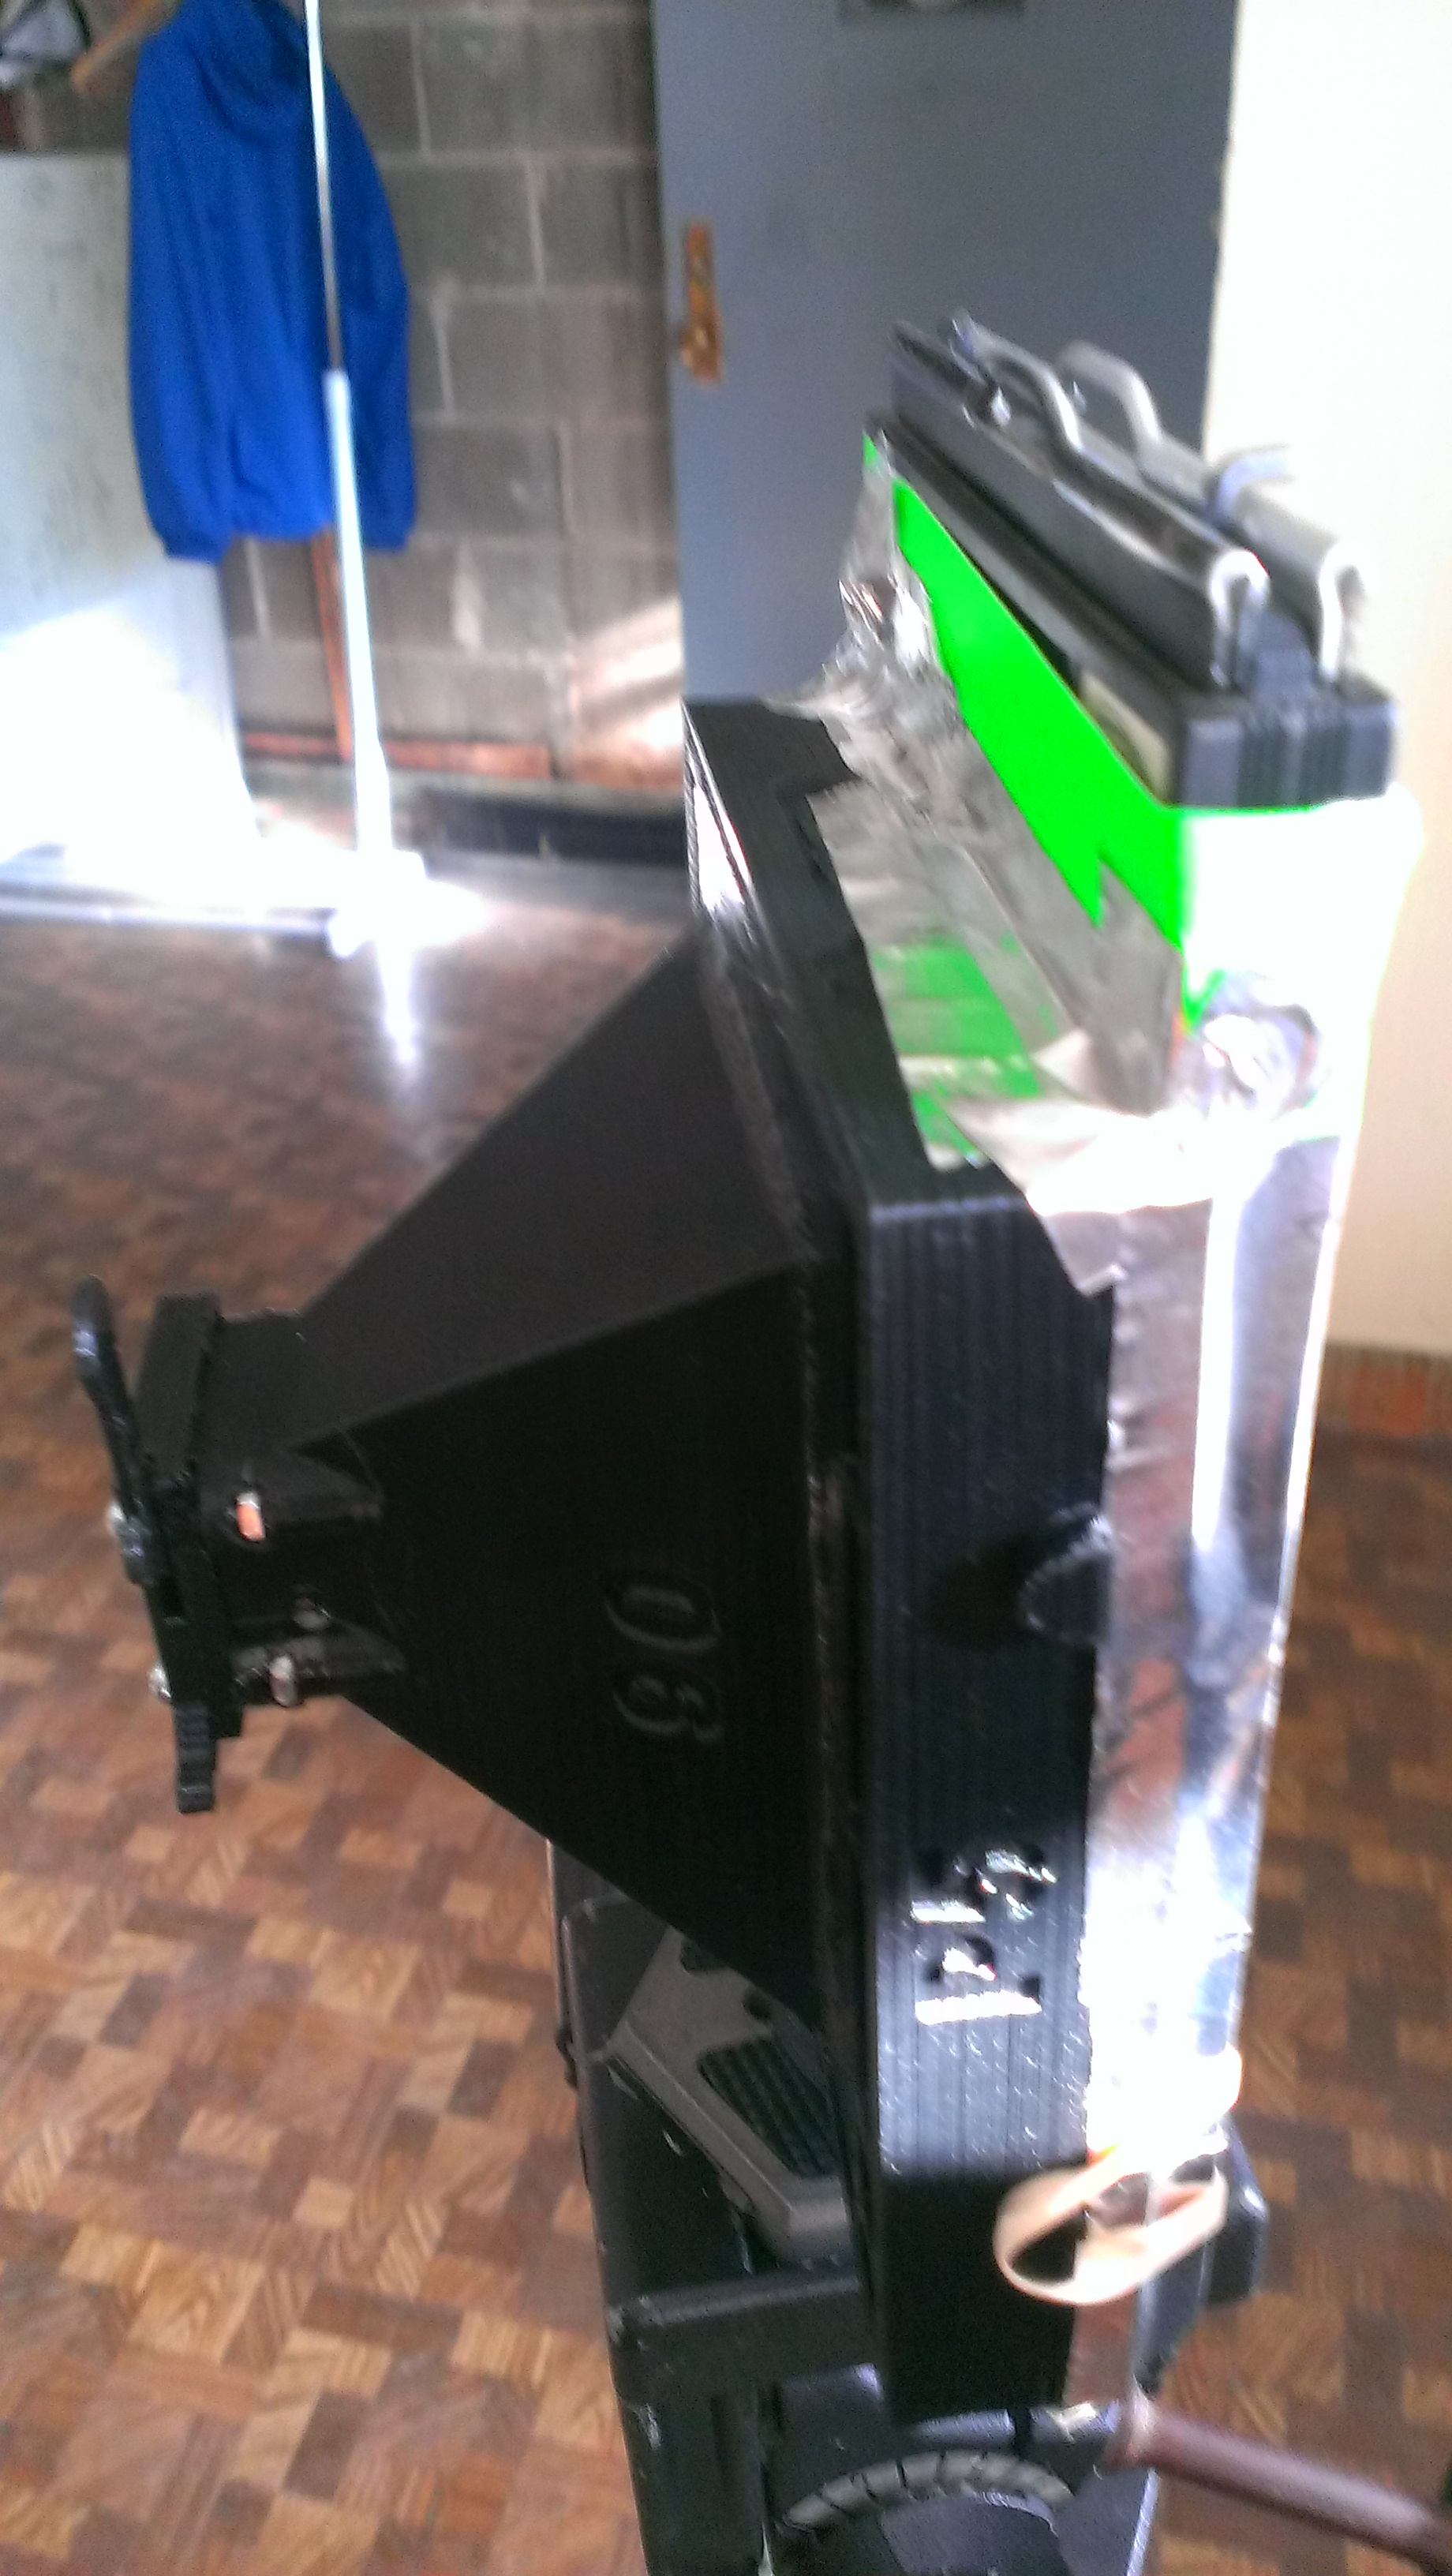
Don’t judge me. Then we carried the mess out into the alley, because we wanted to minimize exposure time. We set up to take a picture of our rollup door, because what else is out there?
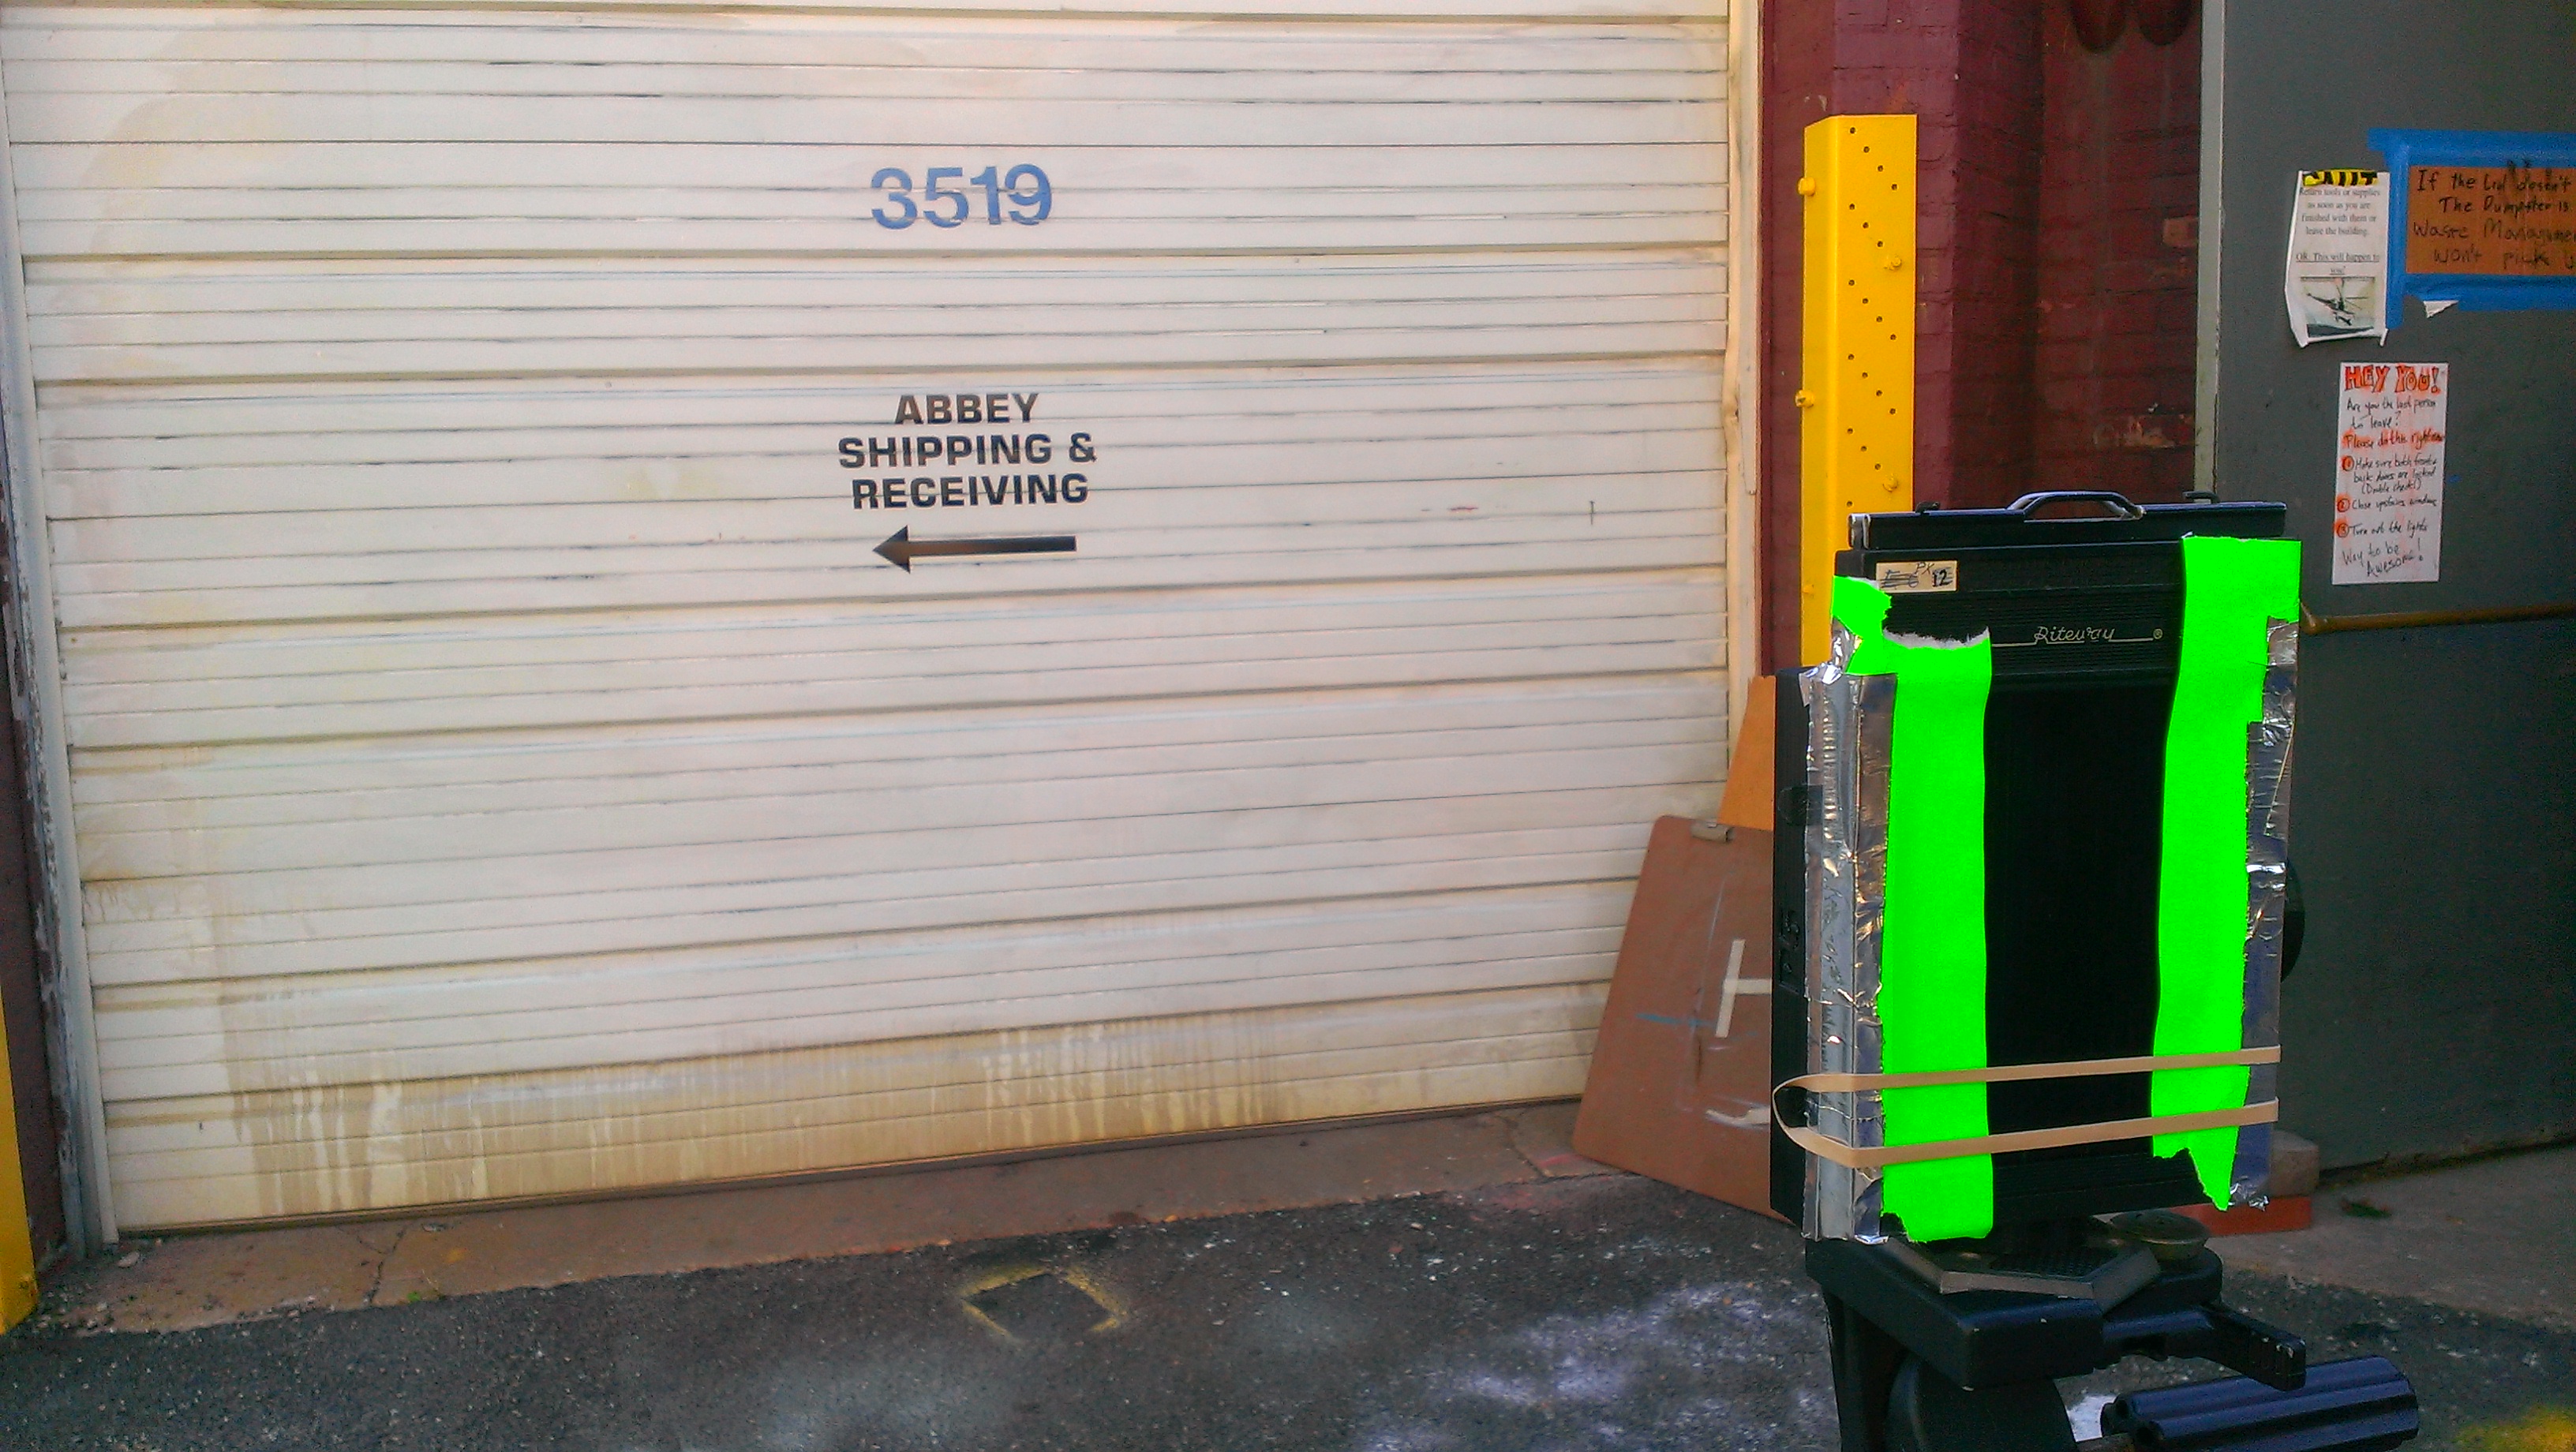
Metering was accomplished with a DSLR and a piece of scratch paper. This camera’s ‘lens’ is f/225 and the film was ISO400. We calculated a 12 second exposure time. We double checked everything, pulled the dark slide out, prepared a timer on a cell phone. Then we hit go and opened the shutter. Twelve long seconds went by, I was sure I was ruining the photo by shaking the camera with the hand that was operating the shutter. Then the phone beeped, the shutter closed, and we were done.
Not being the sort to waste time, we quickly moved into the processing phase. I haven’t developed film since a high school photography class, but Everett was ready to go. It went down at the shop sink (In the newly cleared hot metals area), and soon enough we had our exposure. The negative looked good. Surprisingly good. Scanned with a DSLR, we had our photo:
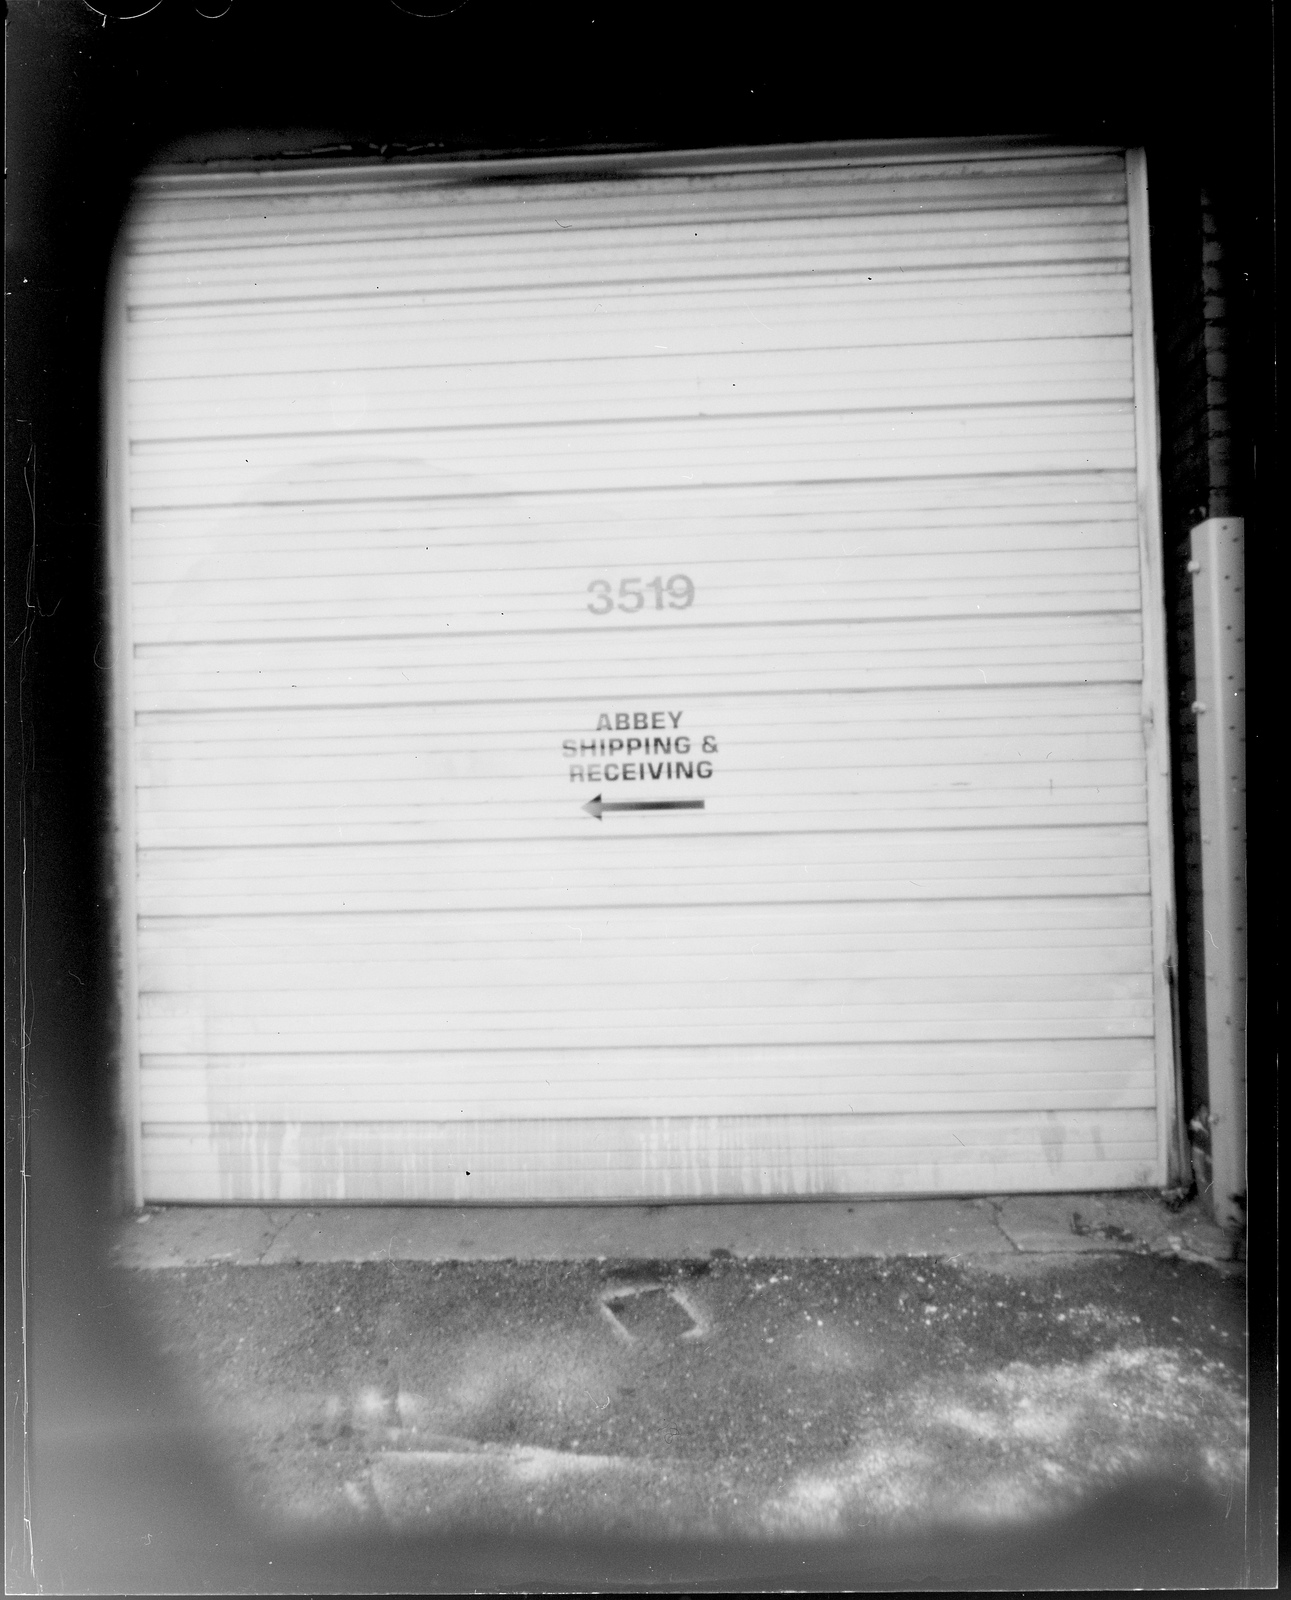
It isn’t perfect, but it’s a result. It’s even a reasonably well-exposed result, considering. The camera will benefit from a more precisely manufactured pinhole.
Our next goal is to try some exposures on positive paper, which is a process that gives you a print directly. The downside (maybe not?) is that it will be an hours-long exposure. We’ll see how it turns out.
Until next time, hackers. -Derek